Test the untestable.
Map what matters.

The MultiScale capability for the PLX-Benchtop enables mechanical property testing on samples as thin as 0.75 mm, and high-resolution mapping across welds and complex parts. Obtain stress-strain curves from samples too small or complex for tensile testing and unlock richer insights at every scale.

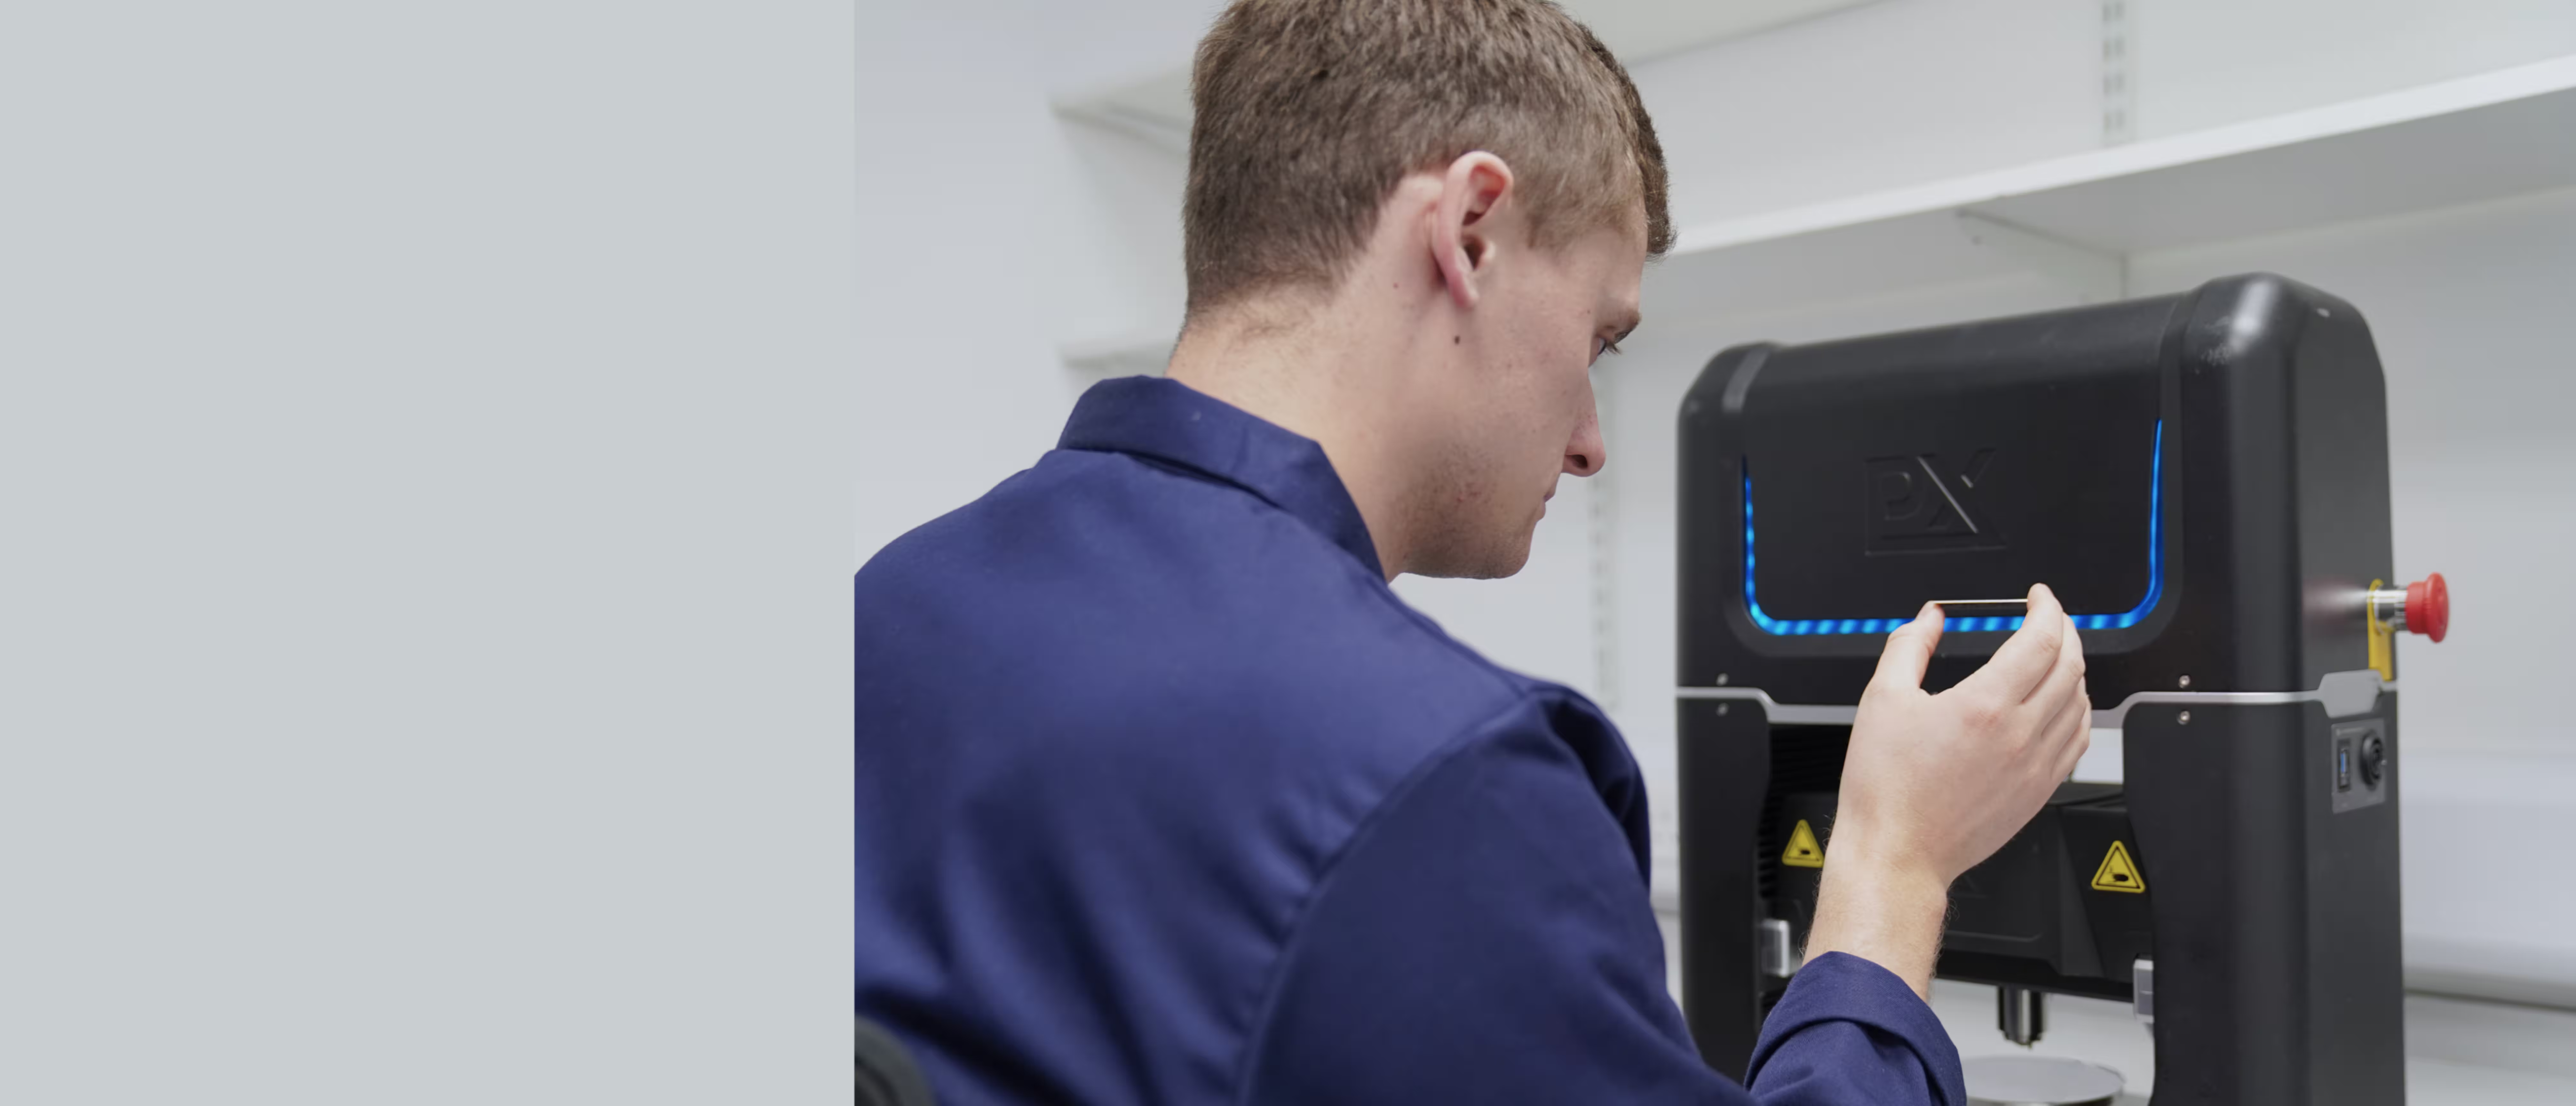
PLX-Benchtop MultiScale feature enables non-destructive mechanical testing on samples as thin as 0.75mm

Advanced in-field technology,  ready for any challenge

a blue circle with a white and blue logo on it

Streamlined & scalable testing

Simplified surface preparation, followed by a 30-minute per quadrant test, delivers quick results, while 2-day training gets your teams up and running fast.

Easy icon

Industry-leading accuracy

The PLX-Portable has set a new industry standard, with record MAPE values for yield and tensile strength.

a blue and white graphic of a bar graph

Final results delivered in-ditch

Results are generated straight from the dig site, with report-ready data available immediately and accessible from anywhere via cloud-based platform.

Your mechanical testing gaps, filled.

Obtaining mechanical property data from welds, thin sheets, and complex geometries often falls beyond the reach of conventional testing methods. The PLX-Benchtop MultiScale capability closes that gap, providing reliable, reproducible data, richer material insights, and efficient workflows.

Test samples too thin for tensile

With a choice of indenter sizes, the MultiScale capability generates stress-strain curves from samples as thin as 0.75 mm, enabling testing that was previously impossible.

Understand fine-scale variations

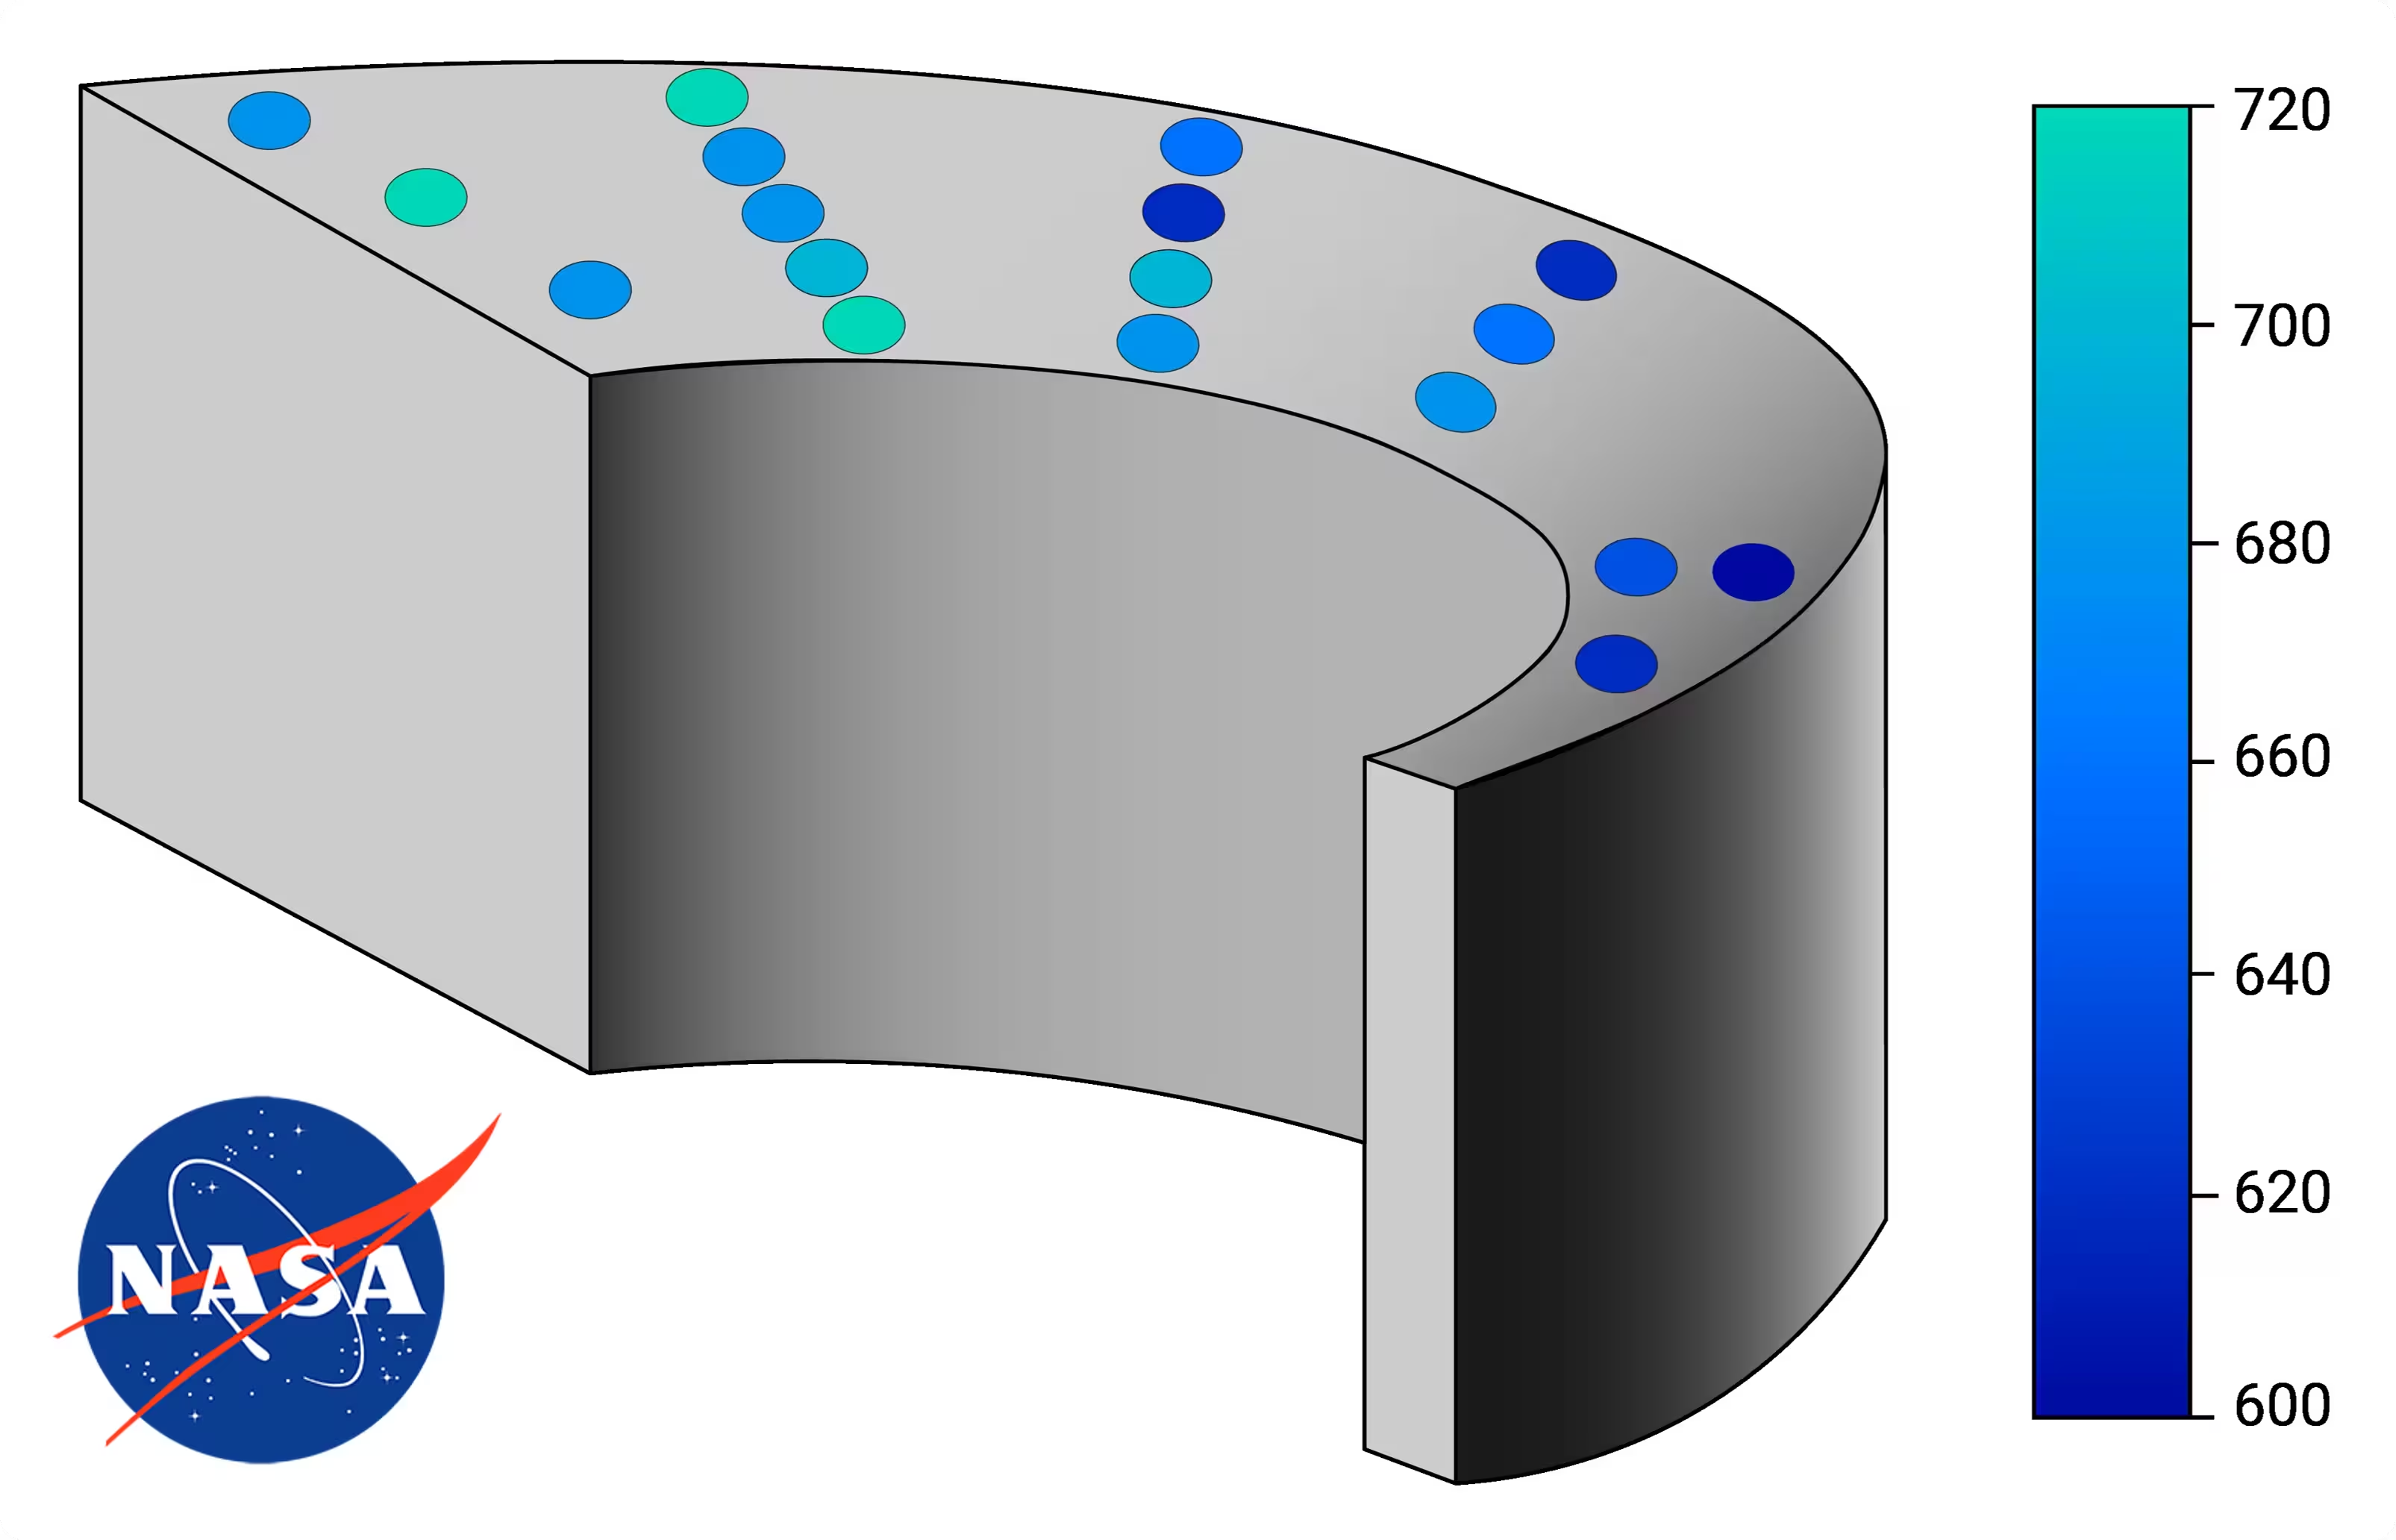
Indents can be spaced as close as 1.5 mm apart, allowing property mapping across welds and complex parts, revealing variations that tensile testing may miss.

Gain richer insights, at speed

Enjoy the speed and ease of hardness testing without the ambiguity, with 5-minute physics-based tests that deliver defensible, mechanical property data.

COMING SOON: How NASA revealed hidden property variations

Find out how NASA used the MultiScale capability to characterise local variations in mechanical properties within spaceflight components.

By mapping stress-strain responses across parts and joints, process-structure-property relationships were revealed to inform manufacturing optimisation and reduce conservative safety factors.

Sign up below to receive the case study once published.


Capture mechanical behaviour at multiple scales

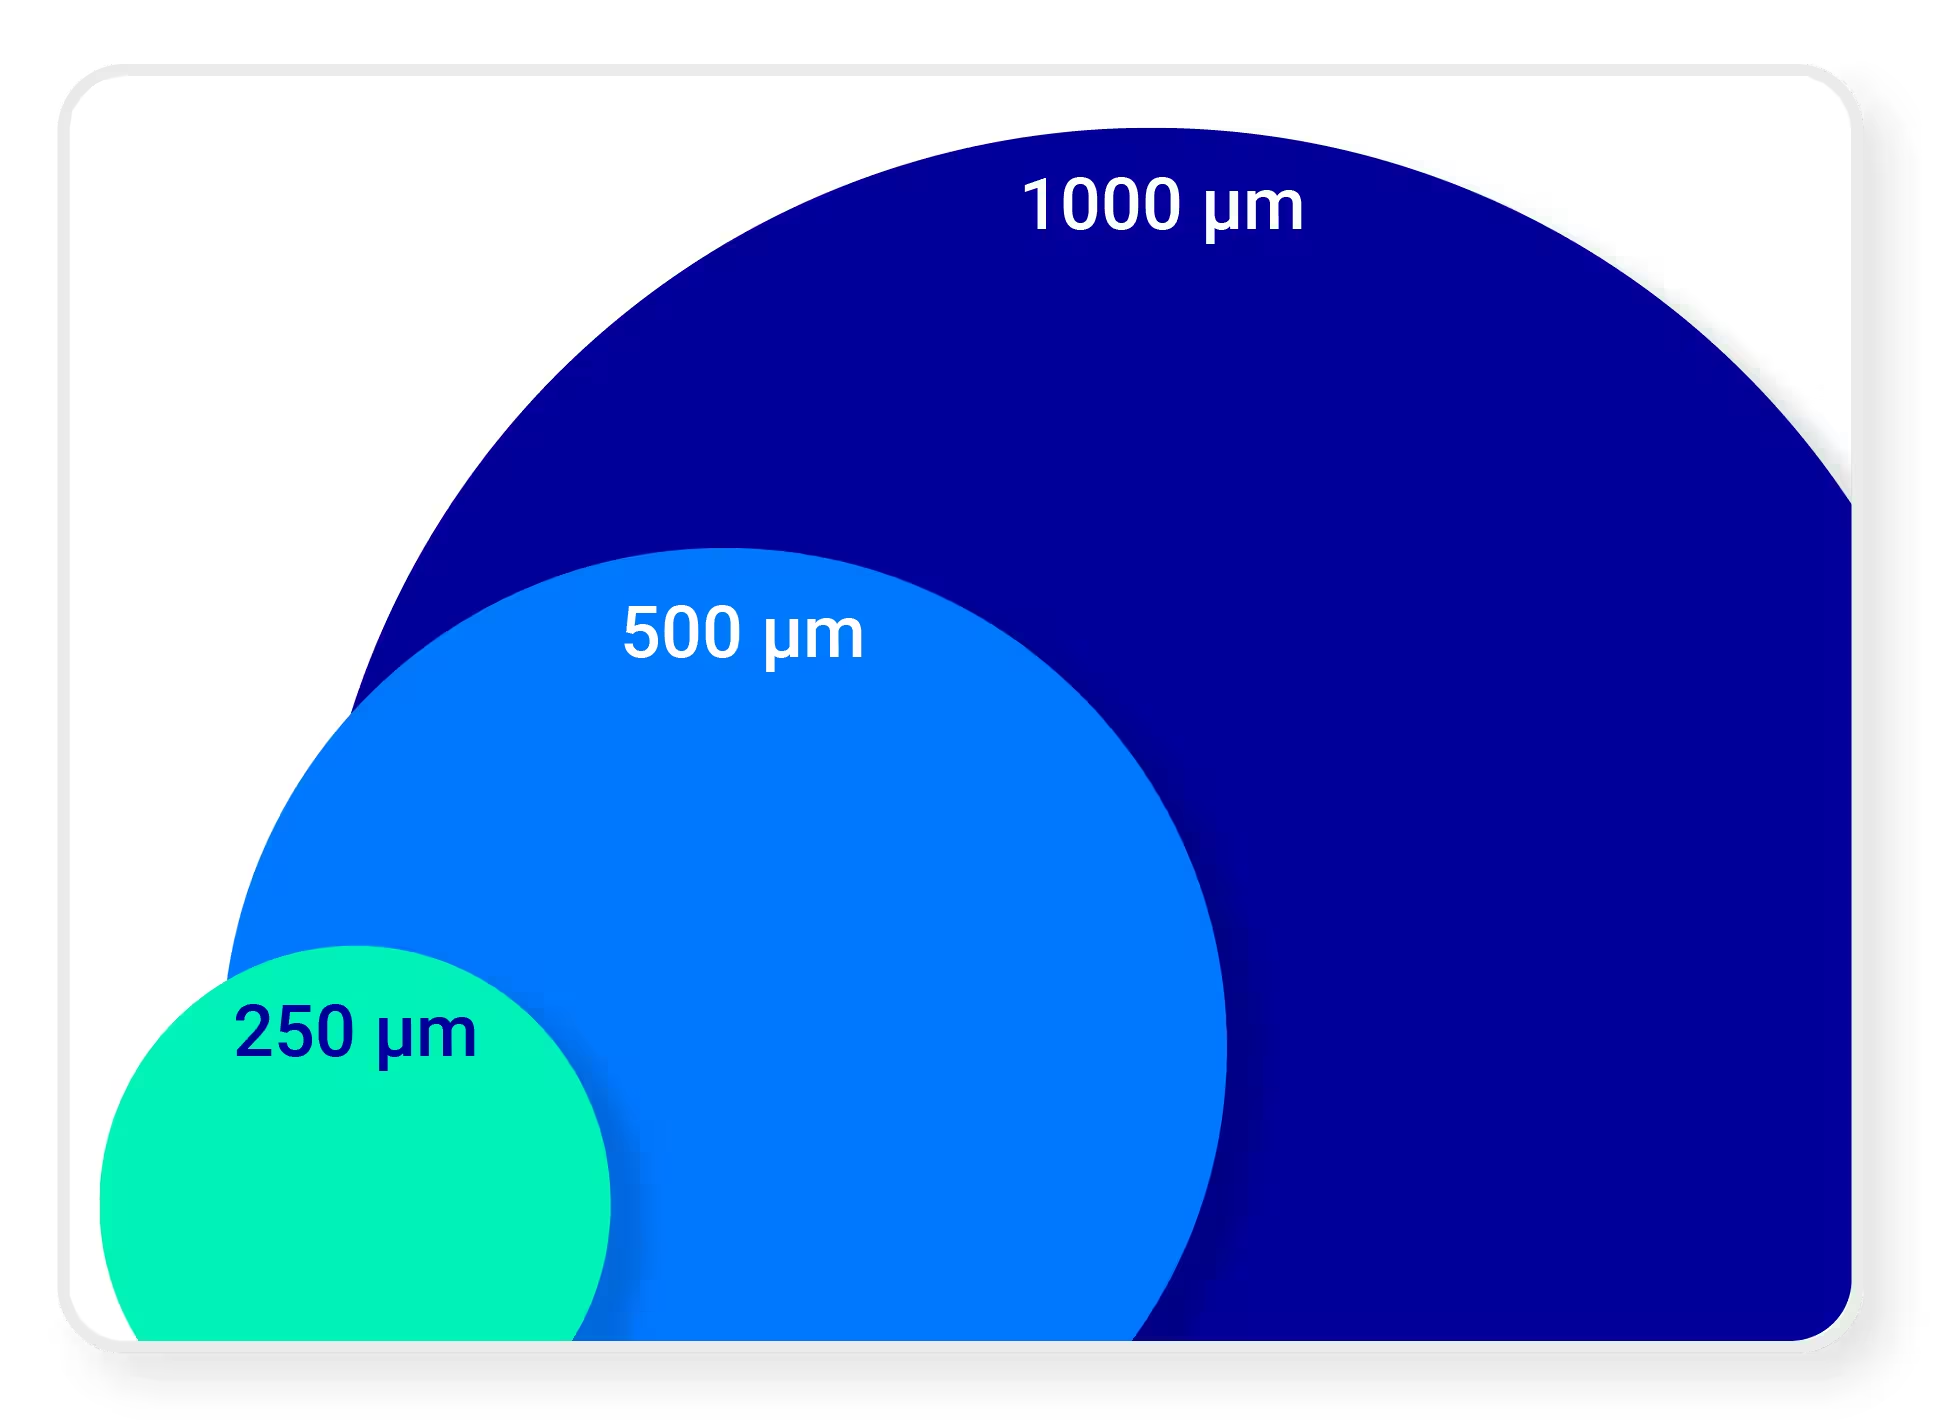
The PLX-Benchtop MultiScale capability operates across three indenter scales: 250 µm, 500 µm, and 1000 µm, capturing mechanical behaviour at a variety of scales. The 1000 µm indenter comes standard in every PLX-Benchtop system.

Access the 250 µm and 500 µm indenters through your CORSICA+ subscription to gain access to advanced inverse-modelling, higher-resolution mapping, and deeper material insight, all from the same PLX system.

With MultiScale testing from Plastometrex, you can use a choice of indenter sizes: 250 µm, 500 µm, or  1000 µm.
a black and white image of a wave pattern

Find out how the PLX-Benchtop could work for you

Receive a tailored quote or get in touch with our application engineers to continue the conversation.

With the MultiScale feature, the PLX-Benchtop can test samples as small as 1.5 x 1.5 x 0.75mm